Custom Templates
Overview
Templates are used throughout SafeSquid as a replacement for pages which can't be displayed due to filtering, error, or other conditions. Customized templates can be really useful, when you would want the error messages to be displayed in a language other than English. It can also be used to display your company logo, warning or message like 'If you feel this site was unnecessarily blocked, please notify the administrator on helpdisk@mycompany.com'.
A template may not necessarily be an html, but can be almost about anything like an audio file, flash file or an executable. It can be used to invoke a file for a specific condition. For example, SafeSquid has 3 built-in templates - tinygif (a 1x1 transparent gif image), checkeredgif (a 4x4 gray and transparent checkered pattern), and tinyswf (an empty flash animation). The checkeredgif template is used by default, to replace images that it blocked by the Pornographic Image Filter add-on module that is used to block pornographic images in real time. So, when the page is displayed to a user, a block of checkered boxes is displayed instead of the blocked image.
Prerequisites
Create your own html file and place that file in the below paths
for windows version of SafeSquid:
c:ProgramDatausrlocalsafesquidui_roottemplates
The path for Linux version of SafeSquid is:
/usr/local/safesquid/ui_root/templates/
Note: If you want to use any images in the html file make sure that the image also exist in the same path.
Example:
Here i am creating below html page:

I Am saving this file with name:
Custom_template.html
I will use this file in the below configuration
Access the SafeSquid user interface
Go to Configure Page

Go to Custom Settings

Go to Templates

Clone existing entry

Edit the original entry

You must edit the original entry, because the entries in template section are processed from top to bottom


Testing

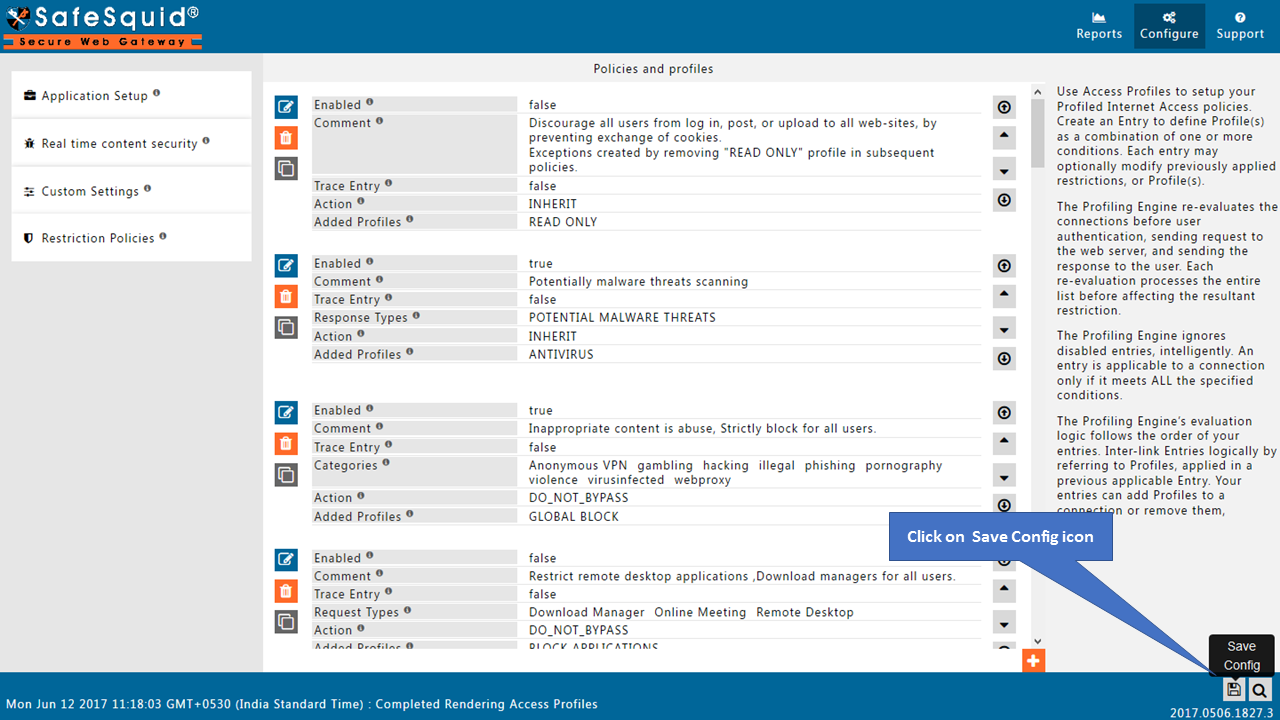
Saving the Configuration